My Beamish Bug fixer-upper
Posted: Mon Oct 31, 2011 4:48 pm
I recently entered the world of AC VW's when I bought a Beamish bug on Gumtree. The idea was to have vehicle that we can tow to Stilbaai for the holidays, and have here in the Cape as a runaround, so it must be reliable.
With me not being too optimistic about my mechanical talent, as I last "really" worked on an engine when I replaced the piston on my Honda MT50 in 1981, I tried to get a car that was in a reasonable condition, so that it could be driven for a couple of months before work started on it.
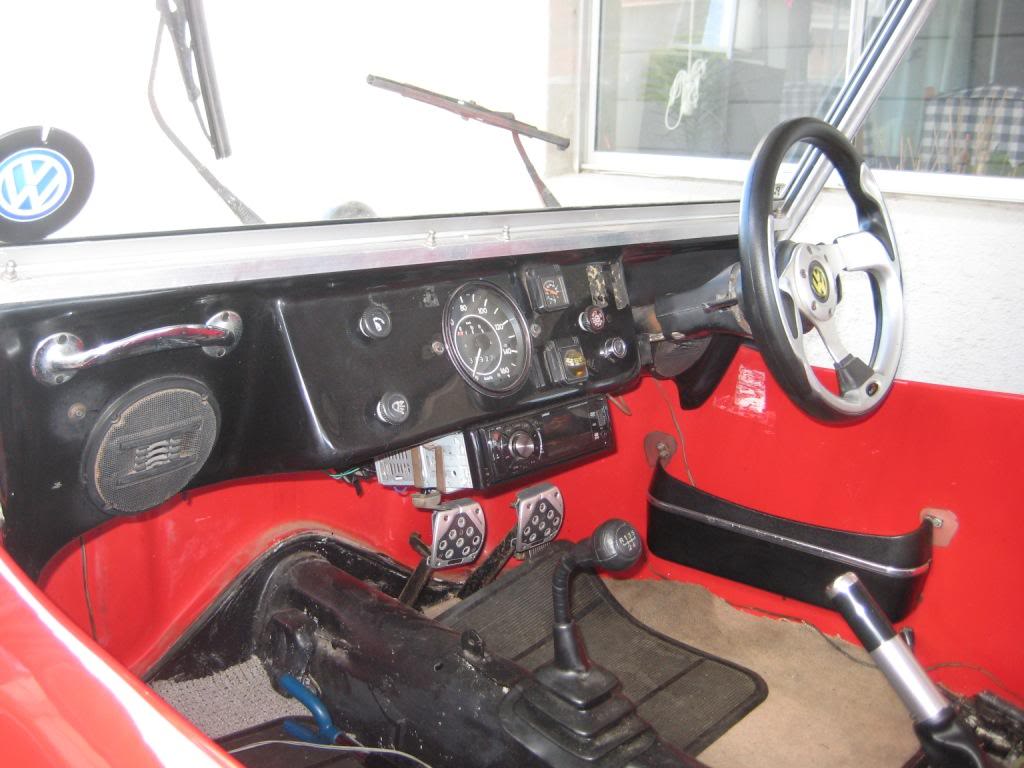
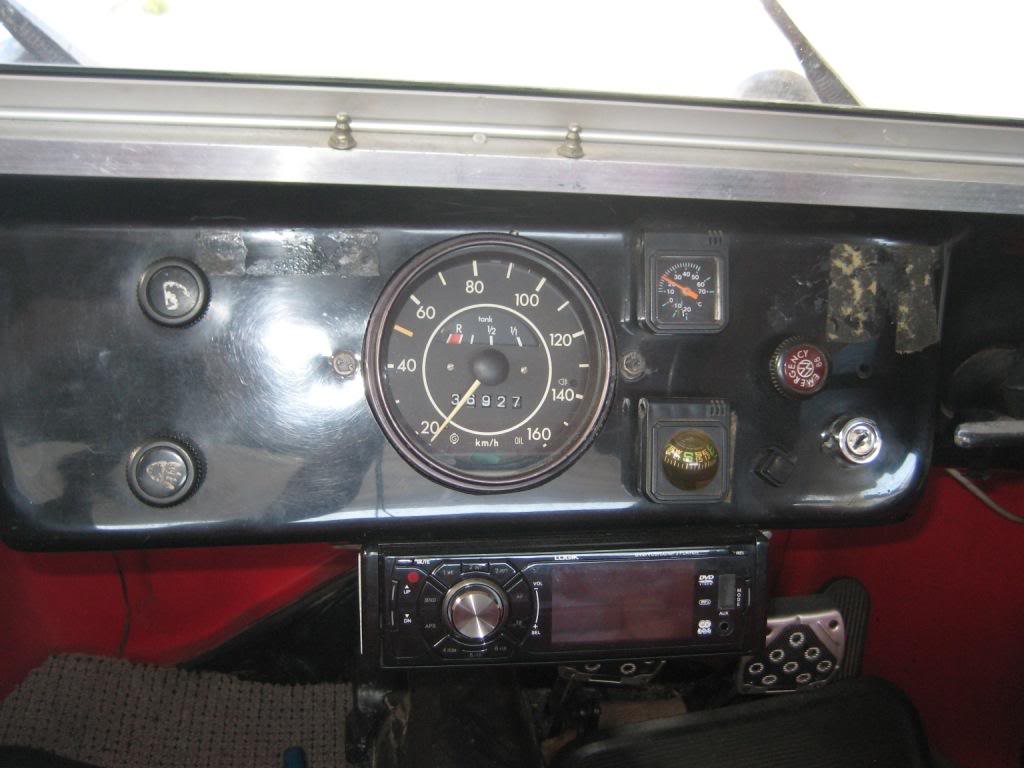
As my plan is to spread the work over a couple of months, this might take a while to finish. Things that I would like to do, includes upgrading the front brakes to disks, repairing or replacing the wiring loom, redoing the instrument panel, repairing and respraying the body and replacing some other odds and ends.
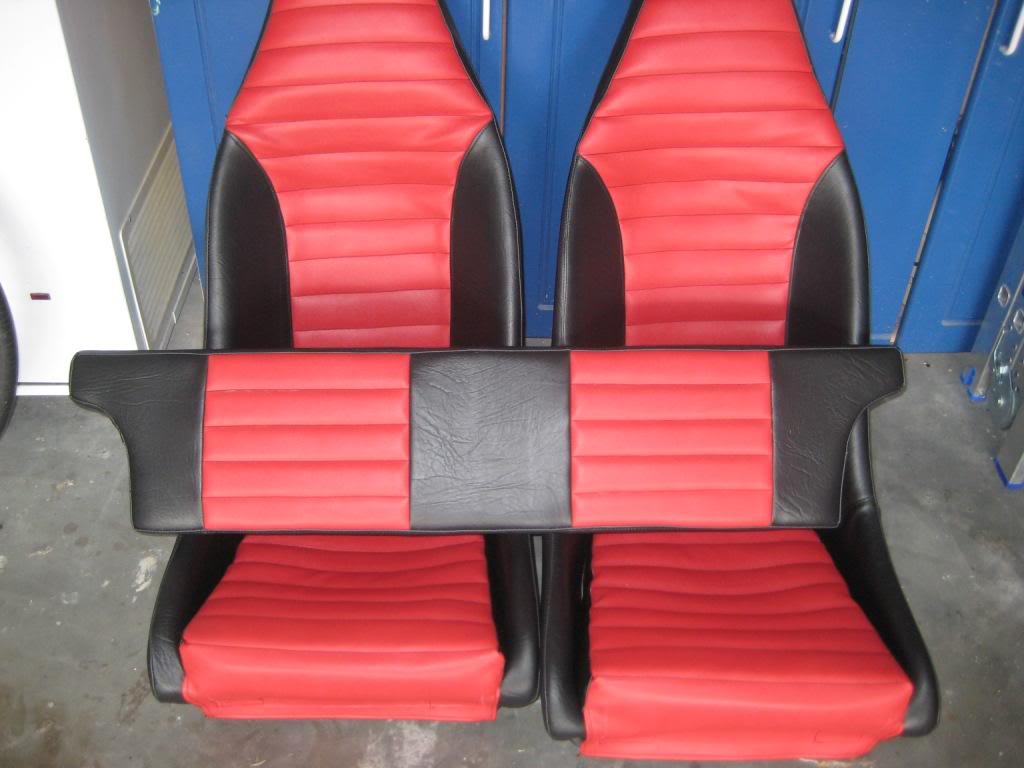
I have had the seats re-upholstered, going from this


to this

Somewhere along the line someone had fitted a radio to the buggy, but that would seem to be an exercise in futility, as the sound is only audible when standing at a robot, or when the engine is switched off.
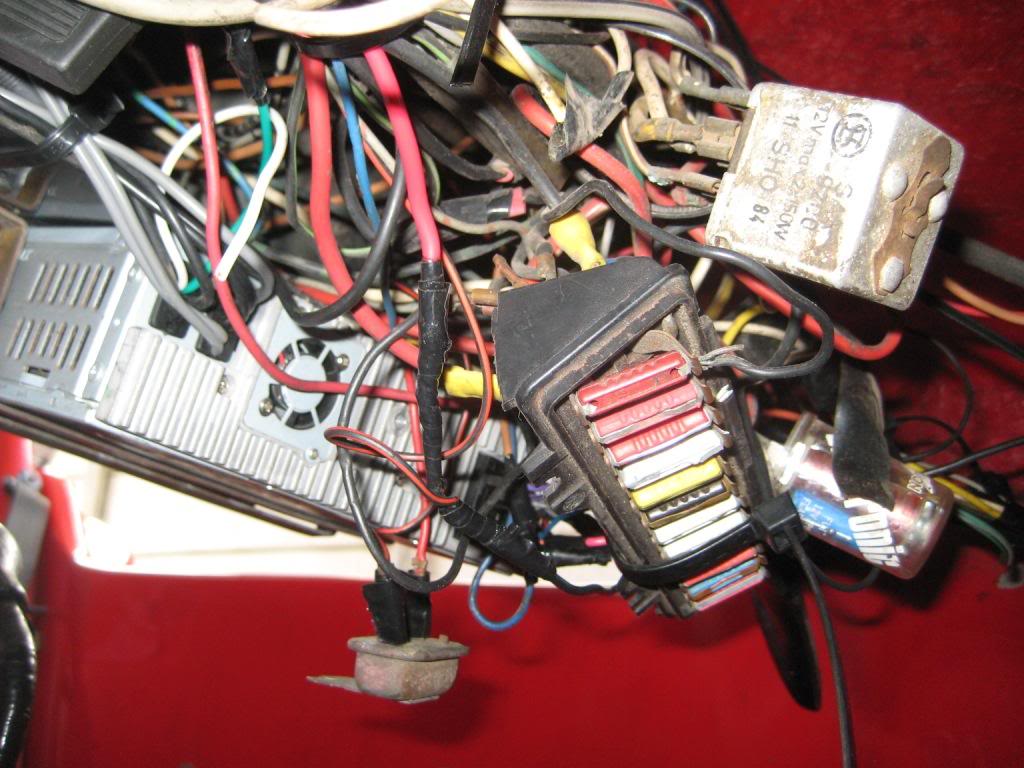
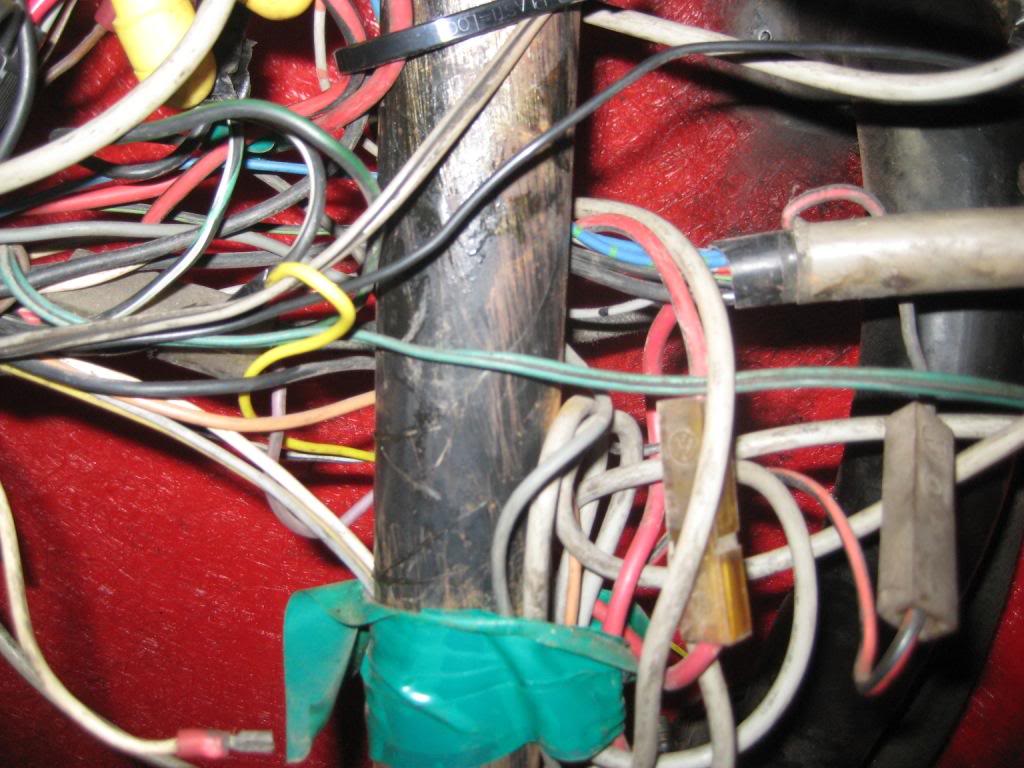
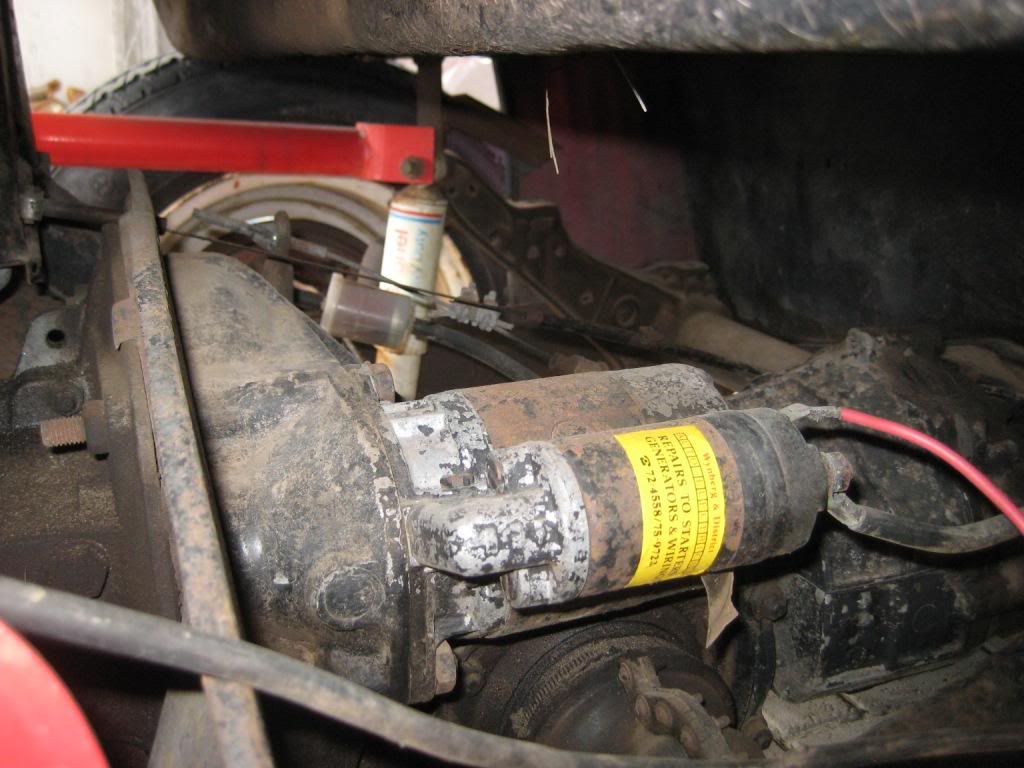
And herewith the reason for my thinking that the wiring might need a bit of a check-up
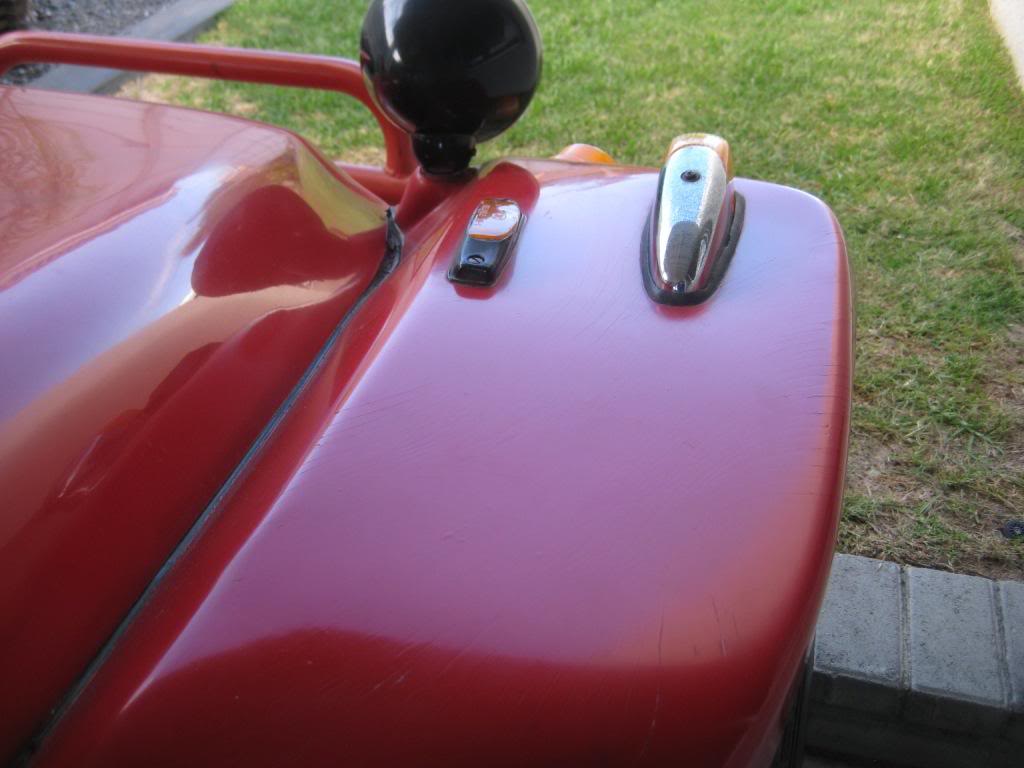
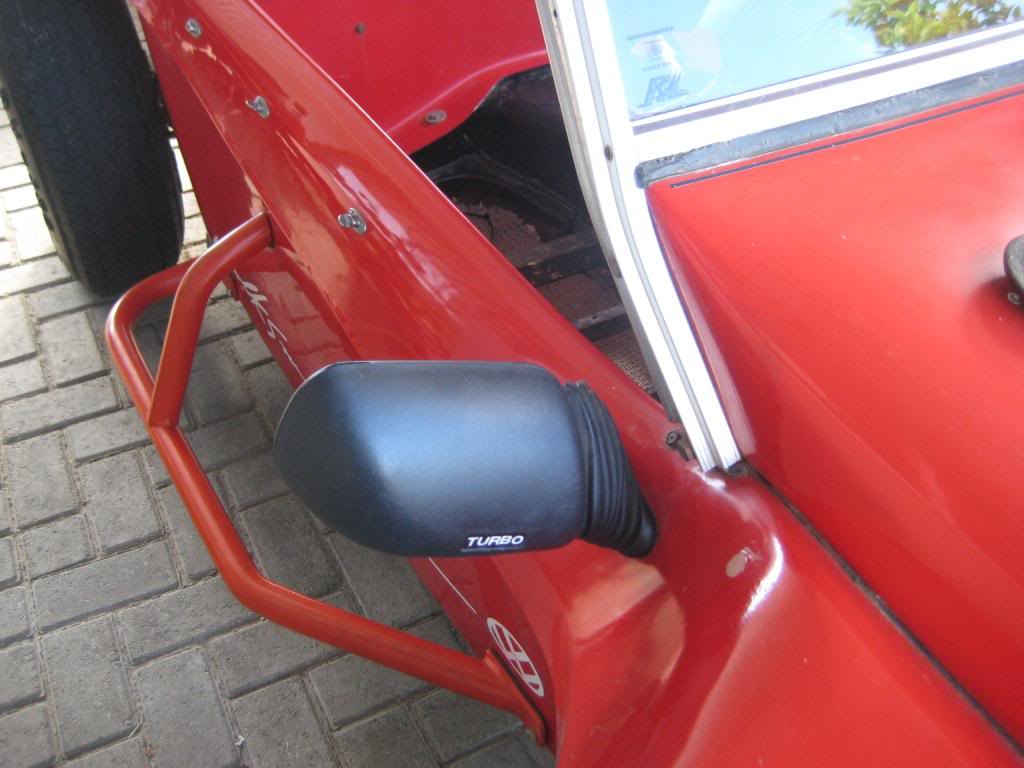
At the moment the car looks OK-ish, but I would like to get the finish a bit better, as well as repair the places where the fibreglass have been damaged,

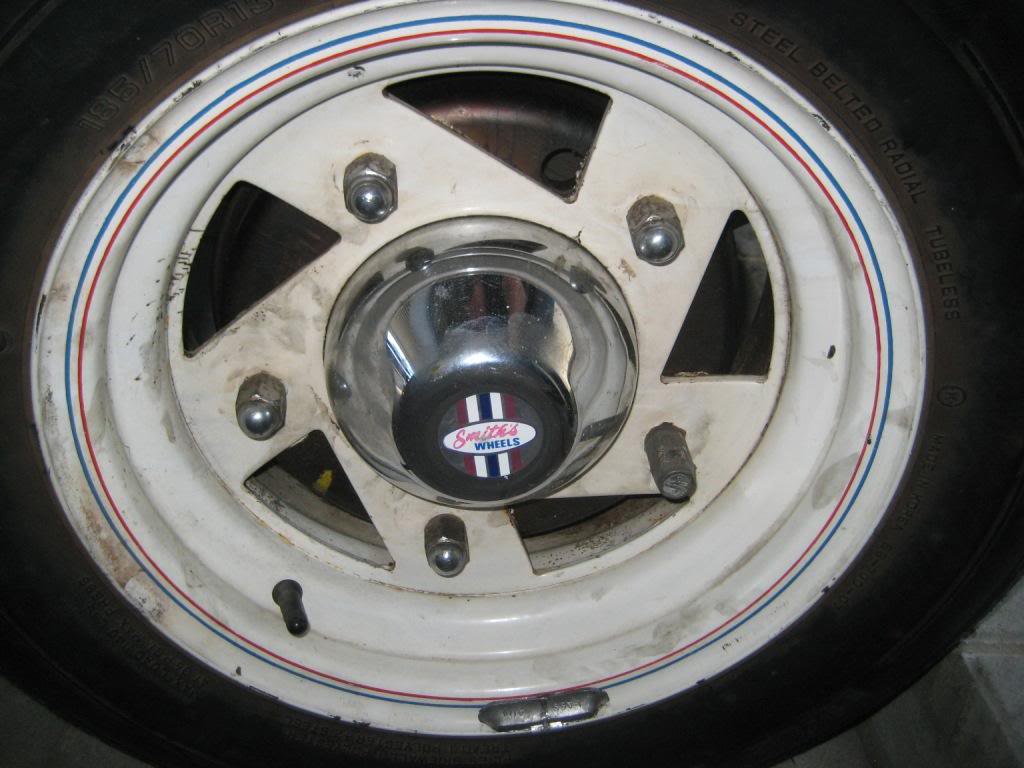
and the rims will also be sent in for refurbishing.
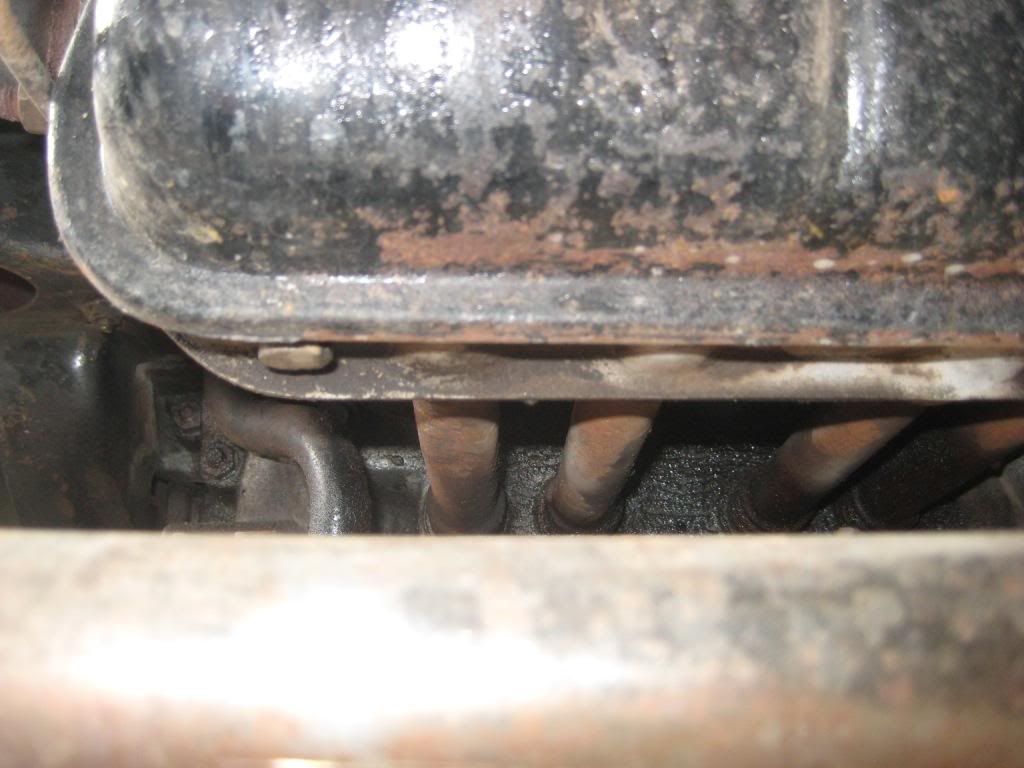
Somethings that will probably require the engine to be removed, includes the fan shroud

and a general cleanup of all the assorted bits and bobs.
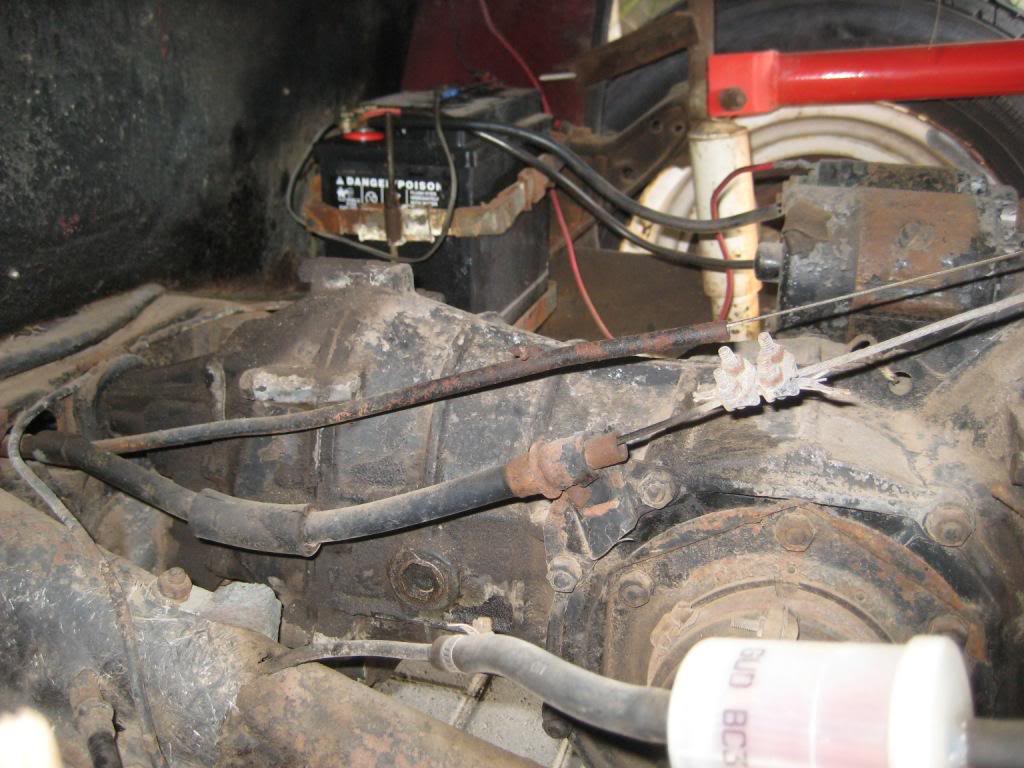
Think I need to cost in a new clutch cable as well....
Being new to the AC scene, I hope to draw on the base of knowledge that are gathered here on the forum, for help, advice, suggestions and support (of the emotional type!).
I have stopped by HR's house as he lives quite close, and learn't that the best tyre pressure is not 2.5 bar (as told to me by the previous owner) but 0.8 front and 1.2 back! What a difference! Thanks, Dave!
With me not being too optimistic about my mechanical talent, as I last "really" worked on an engine when I replaced the piston on my Honda MT50 in 1981, I tried to get a car that was in a reasonable condition, so that it could be driven for a couple of months before work started on it.
As my plan is to spread the work over a couple of months, this might take a while to finish. Things that I would like to do, includes upgrading the front brakes to disks, repairing or replacing the wiring loom, redoing the instrument panel, repairing and respraying the body and replacing some other odds and ends.
I have had the seats re-upholstered, going from this
to this
Somewhere along the line someone had fitted a radio to the buggy, but that would seem to be an exercise in futility, as the sound is only audible when standing at a robot, or when the engine is switched off.
And herewith the reason for my thinking that the wiring might need a bit of a check-up
At the moment the car looks OK-ish, but I would like to get the finish a bit better, as well as repair the places where the fibreglass have been damaged,
and the rims will also be sent in for refurbishing.
Somethings that will probably require the engine to be removed, includes the fan shroud
and a general cleanup of all the assorted bits and bobs.
Think I need to cost in a new clutch cable as well....
Being new to the AC scene, I hope to draw on the base of knowledge that are gathered here on the forum, for help, advice, suggestions and support (of the emotional type!).
I have stopped by HR's house as he lives quite close, and learn't that the best tyre pressure is not 2.5 bar (as told to me by the previous owner) but 0.8 front and 1.2 back! What a difference! Thanks, Dave!