Page 4 of 11

Re: 1959 Bus

Posted: Mon Mar 19, 2012 9:20 am
by MarshallGTi
nice collection you've got there... i think this one needs to be dropped to the floor and all the rust has to stay......

Re: 1959 Bus

Posted: Mon Mar 19, 2012 10:18 am
by jolas
:lol: mouse grey would be apt for this bus !

I was looking at the rear hatch, it seems to be a blueish colour coming through now that you have started removing the top layer of paint. Going to look cool whatever it is!

Re: 1959 Bus

Posted: Tue Apr 10, 2012 8:45 pm
by sean
I received my 4 rims from Herbie123 last week. :hangloose: They are in very neat condition and two have already been blasted, I dropped the other two off this morning for blasting and I am taking my front bumper in to have the white colour matched for the rims.

Image

A few other parts received here too, pretty chuffed about the semaphores and the ignition switch. The window catches aren’t correct for the 59 but will suffice in the meantime.

Image

Other news is the running gear. As the fleetline setup doesn’t work on my bus I have decided to go the more original route. I have got a split gearbox now but still need to do some searching for the mount, drums, backing plates etc.

Next I am on the hunt for a “1100” motor too. I am a little weary about this but also keen to keep it on 6v, never heard the greatest of stories about it but based on how this bus is going to remain and I don’t believe I am going to be doing any serious long distance with it, it will suite it great.

Re: 1959 Bus

Posted: Tue Apr 17, 2012 9:44 pm
by sean
After recently contacting the farmer trying to find some more missing pieces and some history on the bus, the farmer did a bit of research for me. After contacting his mother and brother (his father who bought the kombi died a few years ago) he found out it was towed from Noordoewer (Namibia) to the farm to be used as a Sheppard’s hut. What the most shocking off all is that it was towed there in 1970. :shock: This poor bus lay out there for 40 years! I just can’t believe they put such a new bus out there at the time.

On a more positive note parts of the running gear have been found. The front suspension was used on some kind of a plough arrangement and the rear reduction gears used on a windmill. It is apparently still attached to the windmill. It seems the motor is still complete (on another farm) and is the 1100. I am pretty glad about some of the spares found so will taking a trip up there soon to get them.

He apparently may have some old pictures too, awaiting them shortly. :hangloose:

Re: 1959 Bus

Posted: Tue Apr 17, 2012 10:34 pm
by Stütz
Yeah, bring on them pictures. :hangloose:

Re: 1959 Bus

Posted: Thu Jun 14, 2012 12:25 am
by sean
Here’s just a brief update as to the latest news on my 59.

The old blue tractor paint cleaned off quite well and the boot lid is now attached.

Image

Hers a few pic’s of all the rust area’s I am going to have to repair, I have been cleaning it all out and well, after cleaning and poking the rust was a little worse than I thought.

Image

Image

Image

Image

Image

My parcel arrived with the repair panels needed for all these rusty area’s. Thanks Jacques. :D
This is still by no means going to be a easy job, it’s a serious amount of work, :o but hopefully get the job done well.

Image

Re: 1959 Bus

Posted: Thu Jun 14, 2012 1:38 pm
by MrT
That Ignition key is priceless! Good luck with the project.

Re: 1959 Bus

Posted: Thu Jun 14, 2012 7:52 pm
by jolas
Image

:D dammit this bus is looking wicked already, have you worked out the colour, just love the whole thing, the story, the recovery, the whole tootie :hangloose:

Not too keen on those ears though :twisted:

Re: 1959 Bus

Posted: Wed Jun 20, 2012 10:34 pm
by sean
jolas wrote:
:D dammit this bus is looking wicked already, have you worked out the colour, just love the whole thing, the story, the recovery, the whole tootie :hangloose:

Not too keen on those ears though :twisted:
The ears with the stove pipes inside the bus are going to stay! :shock:

Re: 1959 Bus

Posted: Thu Jun 21, 2012 10:23 am
by jolas
sean wrote:
jolas wrote:
:D dammit this bus is looking wicked already, have you worked out the colour, just love the whole thing, the story, the recovery, the whole tootie :hangloose:

Not too keen on those ears though :twisted:
The ears with the stove pipes inside the bus are going to stay! :shock:
Cool, we can connect my coal stove to those chimneys and make rooster koek and pot brood when we hit the road ?

Re: 1959 Bus

Posted: Thu Jun 21, 2012 10:44 am
by splitbusahollic
jolas wrote:Cool, we can connect my coal stove to those chimneys and make rooster koek and pot brood when we hit the road ?
:lol: :lol: :lol:
like a traveling bakery ! 8)
we can call it "Seans bread bus" !
imagine the lovely smell of bread baking coming from those mouse ears !!mmmmmmmmmm
i'm in ! put the stove in the back !

Re: 1959 Bus

Posted: Sun Aug 12, 2012 9:26 pm
by sean
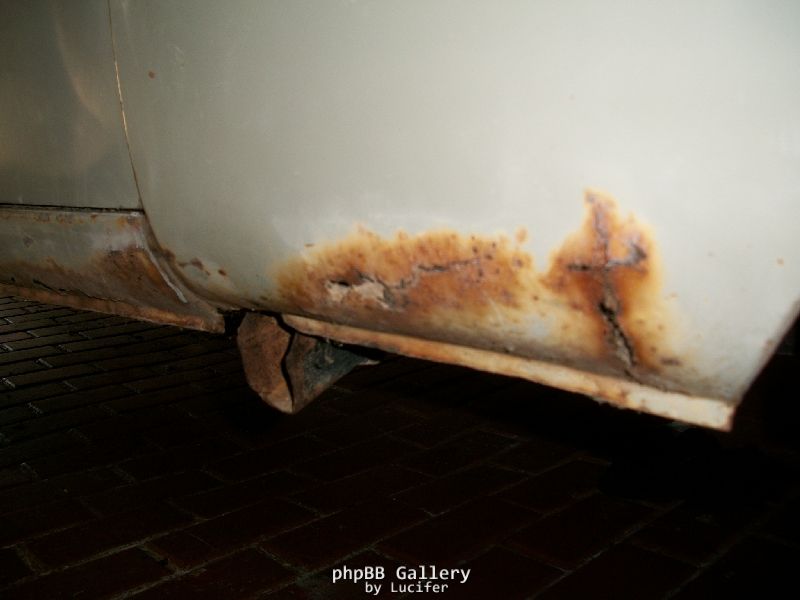
Finally, some progress, put in some leave this past week to start with all the repair sections on this bus.

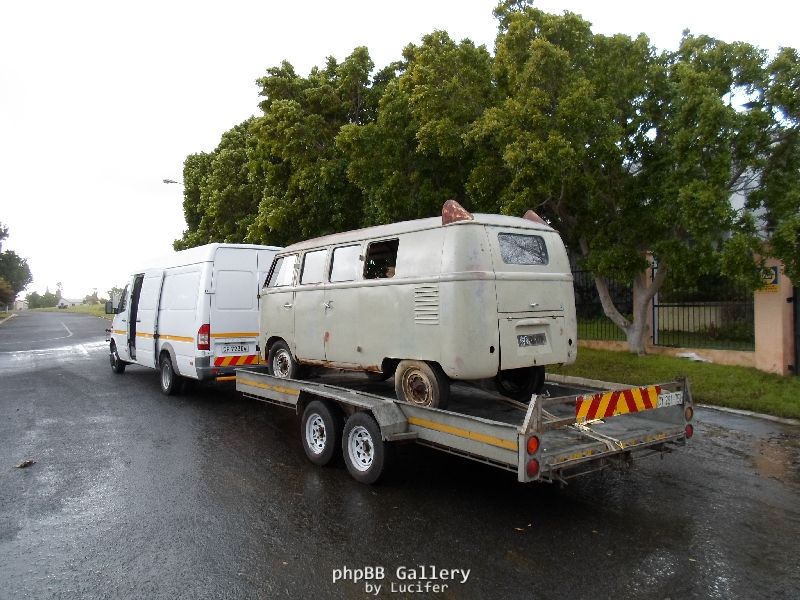
All loaded up ready to take through to the factory, pretty unpleasant job loading it up as this past week’s weather here in the Cape was appalling.

Image

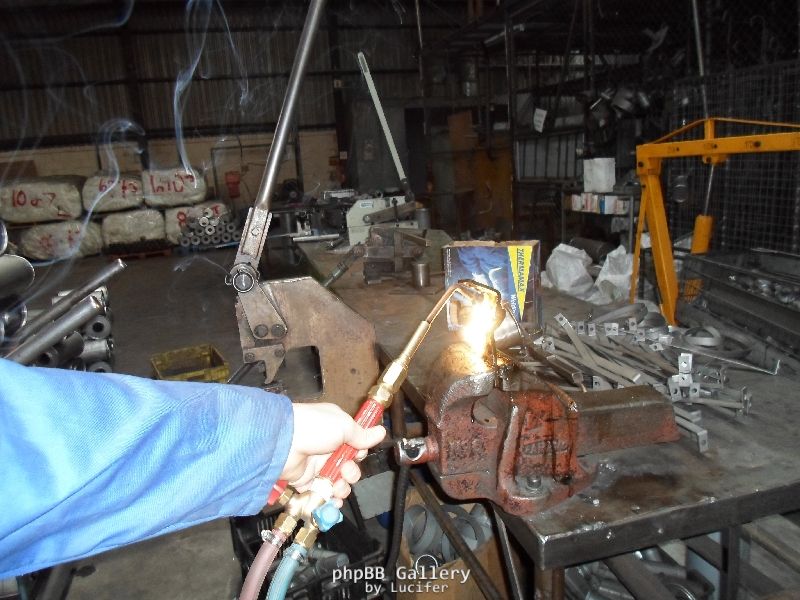
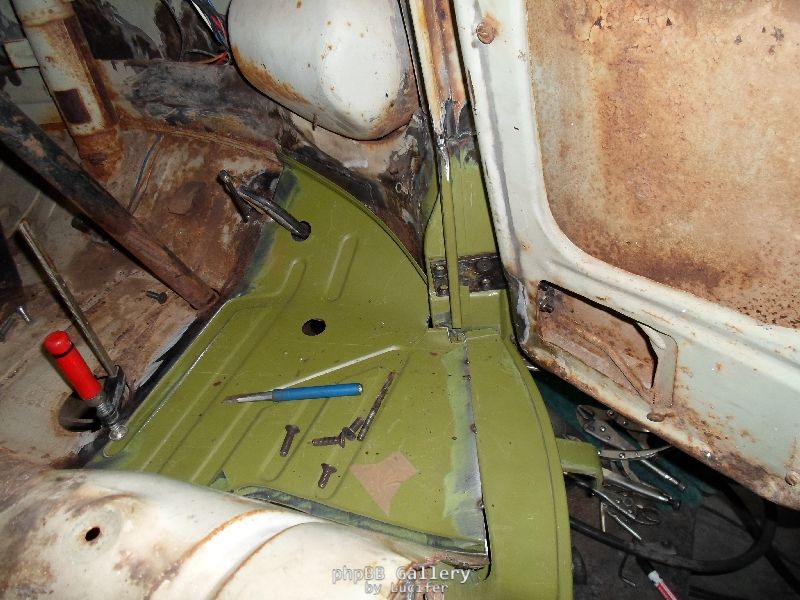
Started off with repairing the driver’s door hinges, welded new plates in and attempted to remove the hinge pin as the hinges were completely seized. No luck even in a hydraulic press, so gave some good old heat treatment after which they finally budged.

Image

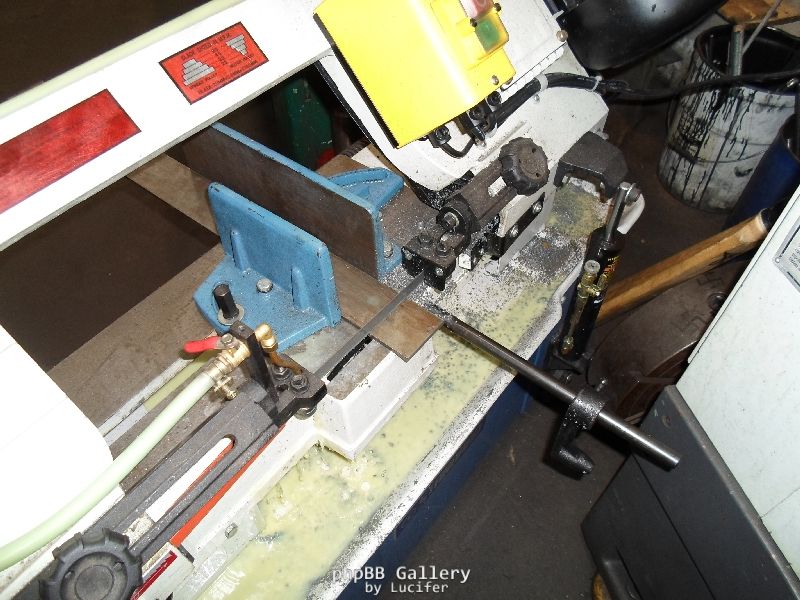
Then it was to repair the upper hinge mount on the A-pillar, lower was no worries as it was completely being replaced, but the top one had all 4 bolts broken off as well as being rusted. I cut a slot to remove it and made a new one. Thought it would be easiest to make it out of some thick plate, cut it to correct size, drilled, tapped and managed to slide the new one in with ease.

Image

Image

While we’re on the driver’s door:

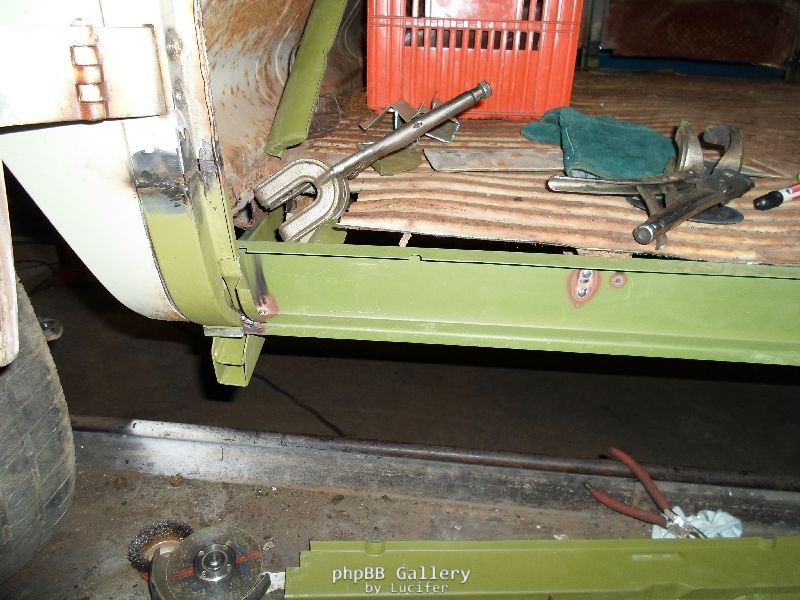
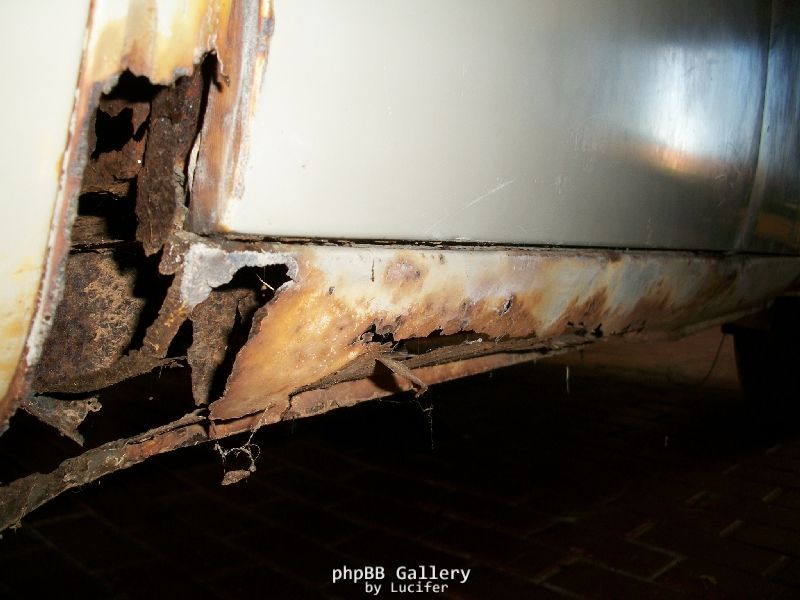
Test fitting the outer dog log with A-pillar repair section and inner front valance. It would have been ideal to actually replace the complete outer dogleg as there was some previous accident damage, but decided to leave it as it continued onto the front door and doesn't look so bad considering this ratty / rusty / patina way its going to remain in.

Image

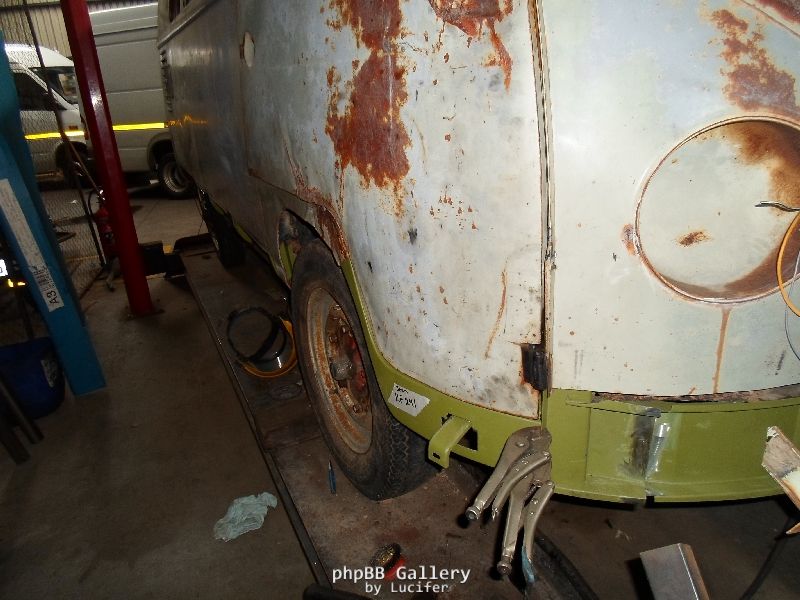
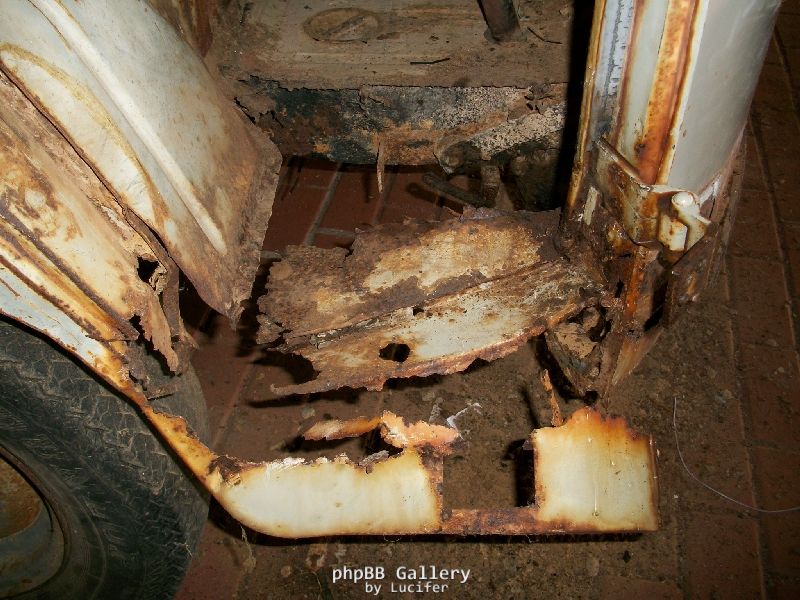
Floor repair section, A-pillar, inner & outer dog-leg all prepared for welding.

Image

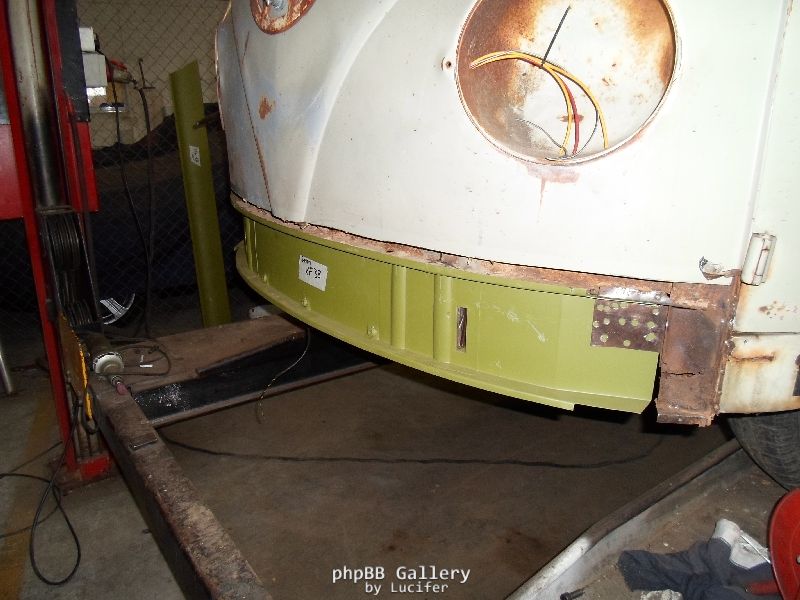
Inner front valance for test fitting, still need to fabricate some plates to join/repair the left A-pillar to the valance as I had to unfortunately remove parts of it due to some rust.

Image

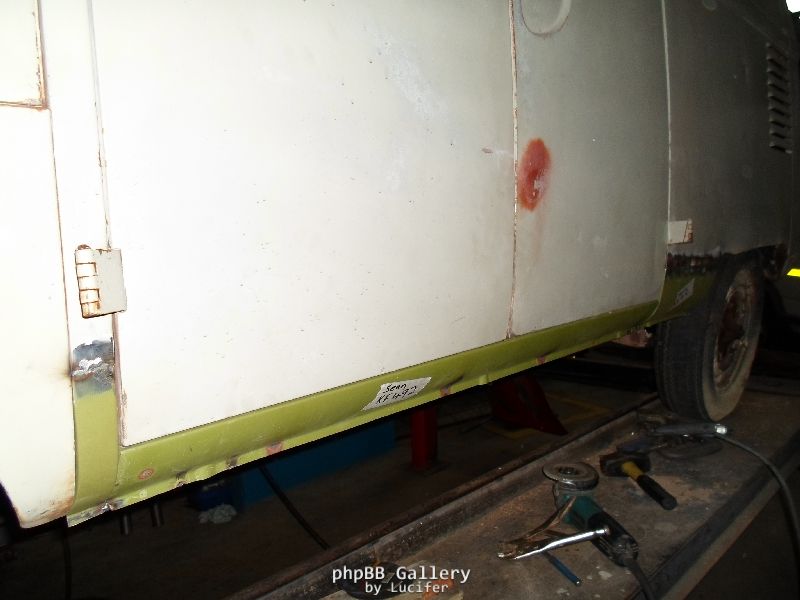
Test fitting left inner rocker, B-pillar repair section and outrigger.

Image

Image

Left side outer rocker, B-pillar and small sill repair section all fitted, now ready for final welding.

Image

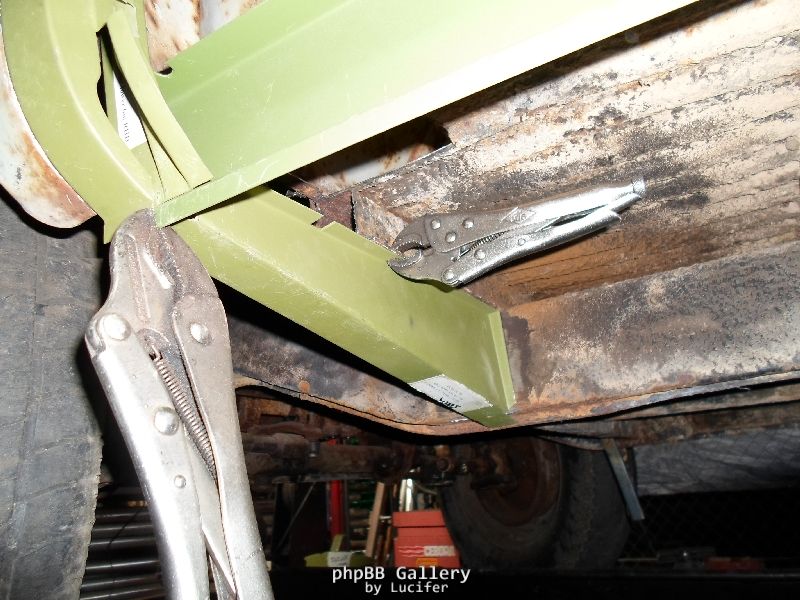
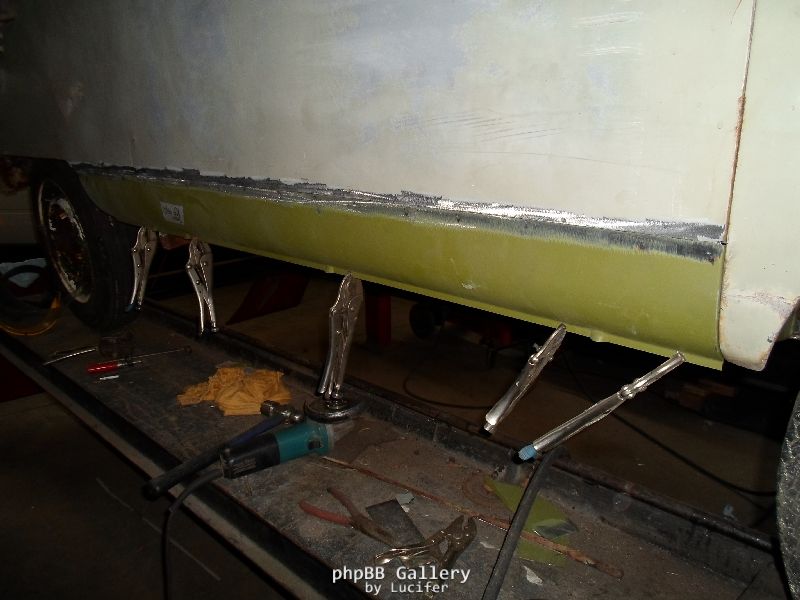
Long side support pillar repair sections welded in place.

Image

As with the other side, I found it better to have some support for clamping and welding to have a backing plate behind the weld of these long sections, so I spot welded some sturdy plate onto the outer rockers before slotting into place.

Image

Long side on for test fitting, unfortunately ran out of time today, will have to finish next weekend.

Image

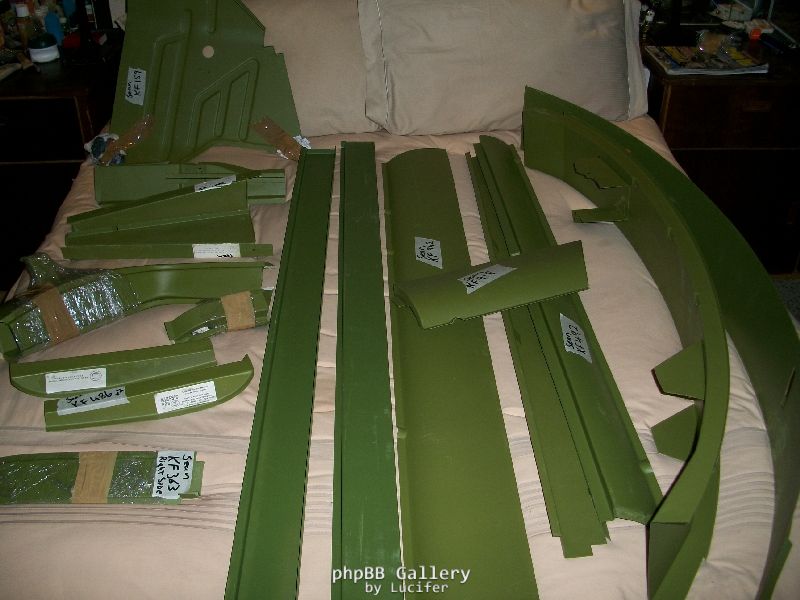
Overall I am quite happy with this week’s progress, but I am really happy with these repair panels, I just simply can’t explain how well these KlassicFab repair panels work, I cannot fault them, they really do fit perfectly. Many thanks to Splitbusaholic for the sections as well as making a turn this week to check out the progress and give some advice.

Other jobs while the bus is still on the lift:
I have to finish bending and installing the new tubes for the clutch and accelerator cables as the old ones are completely rusted.
Install new copper brake pipes
Complete all the finishing welding on the repair sections
Acquire lower nose repair section and jacking points from Splitbusaholic
Weld in front cross-member repair sections above jacking points
Decide on how to sort out the small sections of the floor I had to remove to gain access to rockers, perhaps floor repair sections are an option, but still deciding if I can make up something.

Will hopefully be able to post some more completed area's by next weekend...

Re: 1959 Bus

Posted: Sun Aug 12, 2012 9:37 pm
by sean
This past week I was also doing some hunting for 30HP parts, they were proving a little difficult individually and as luck would have it, I acquired this very complete motor instead. It's very original, I never expected an engine of this age to still have original plug leads, even the seals around the leads where they enter through the tinware are genuine VW. :shock:

Its going to need a fair bit of cleaning up at least, looking forward to it.... :D

Image

Re: 1959 Bus

Posted: Sun Aug 12, 2012 10:06 pm
by Warwick-Lowlight
Sean Congrats

You are now officially the leader of the Cape Rat pack
Love the work that you are doing
Splittbusaholic had allot to say - only good things of your progress
You are the Man - going where we all want to

By the way


How many Vice Grips do you own

Seems there are no more inna Kaap

:hangloose:

Re: 1959 Bus

Posted: Sun Aug 12, 2012 10:23 pm
by vw59beetle
Keep up the good work Sean. Looking good.

Wernher