Re: '71 Westy Project - Update
Posted: Sun May 04, 2008 7:57 pm
Almost a year since the last update! You know that a project is taking too long when the stuff you originally restored needs to be restored again and the project is not even half way!!! 
I finally took a few days off where I wasn't going away, racing, doing home repairs or attending to one of the many other things that seem to always take preference. So at last the Westy received some attention.
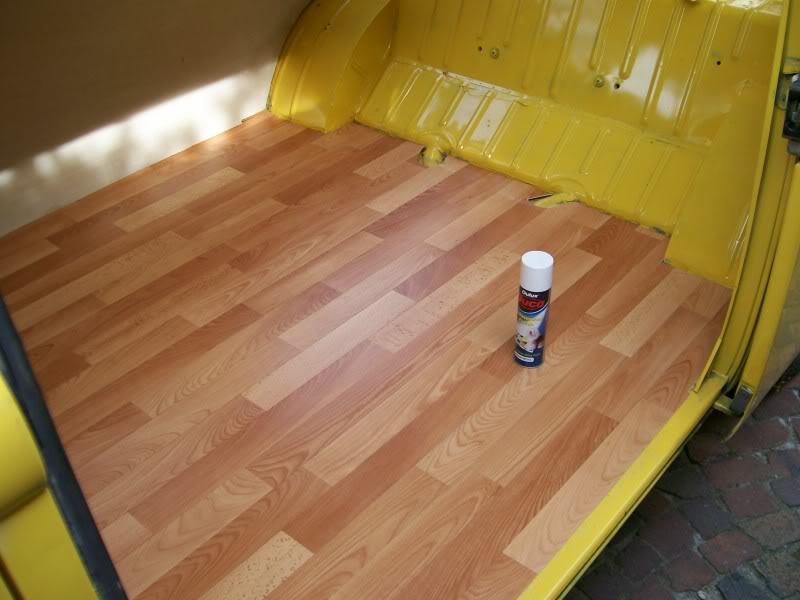
First up was a thorough cleanout and liberal coats of rust convertor to the floor (no actual rust, just a few bare metal patches). Then two layers of masonite board topped off with a piece of Novilon flooring in "strip wood" look.
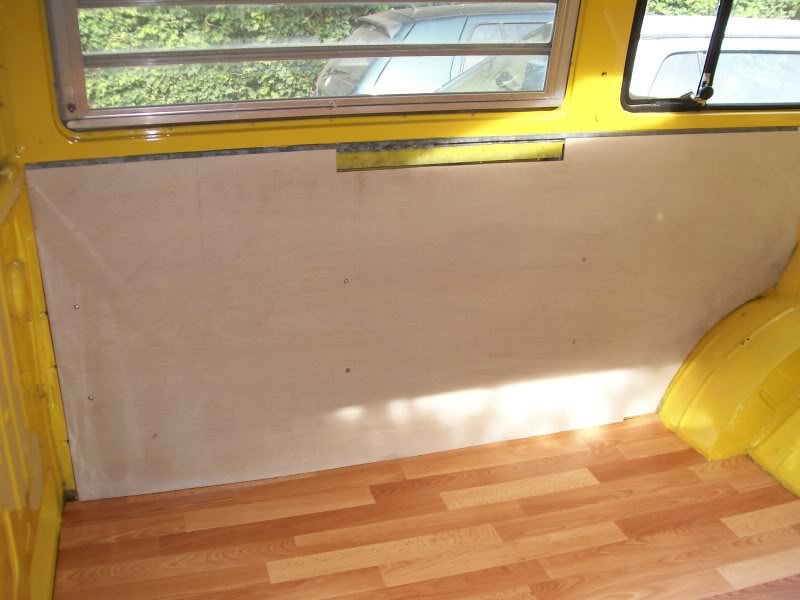
Next up was a new side interior panel. I'm using 2mm ply which I've "lime-washed" with diluted light cream pva covered with a satin sheen, water based, clear varnish to try and match the original panels; some of the better condition ones will be retained. The new panel looks "old" and blends in pretty well with the others.
Then a really fiddly job (for a first timer that is); fitting the passenger door window and winder mechanism. Damn, it took me several tries as I kept getting the order of fitting wrong. I'd get half way then realise that some other bit was not going to fit as it needed to be fitted first! Anyway, got it right eventually and its in and working perfectly. I gave the inside of the front doors a good clean out, painted with rust converter and sprayed on a layer of wax. Also checked that all drain holes were unblocked. Unfortunately the window rubbers, while complete, are very brittle and are not doing a great job of keeping water out of the doors so I put extra effort into preventative measures. Sorry, no pics; I was struggling too much to think of photos.
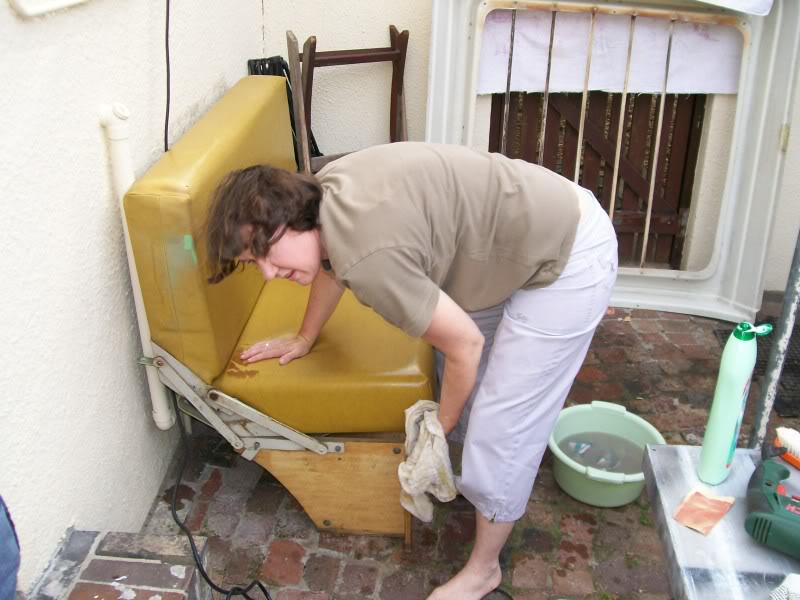
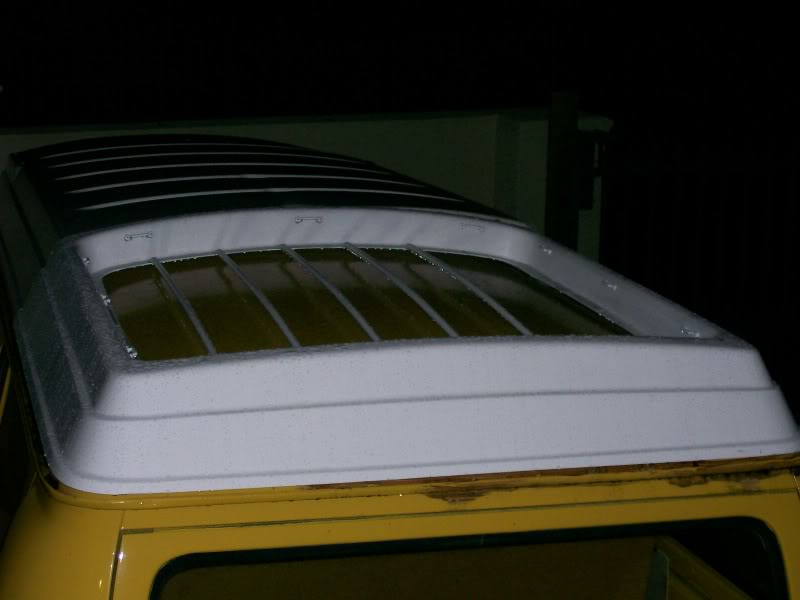
Next up was the rear half of the pop-top: the roof rack bit. Several of the bars were loose and it needed a spray as it wasn't done properly at the time of the original spray job. A few nuts and bolts later plus two cans of white Duco spray and it looked good as new. While I was busy with that I managed to get the better half onto the job of cleaning the rock and roll bed (after all, cleaning is woman's work
 ). It is amazing what a good scrubbing can do, to the seat that is, not the wife. It looks almost new. Some slip covers of a more modern material are planned for later but for now it looks pretty good.
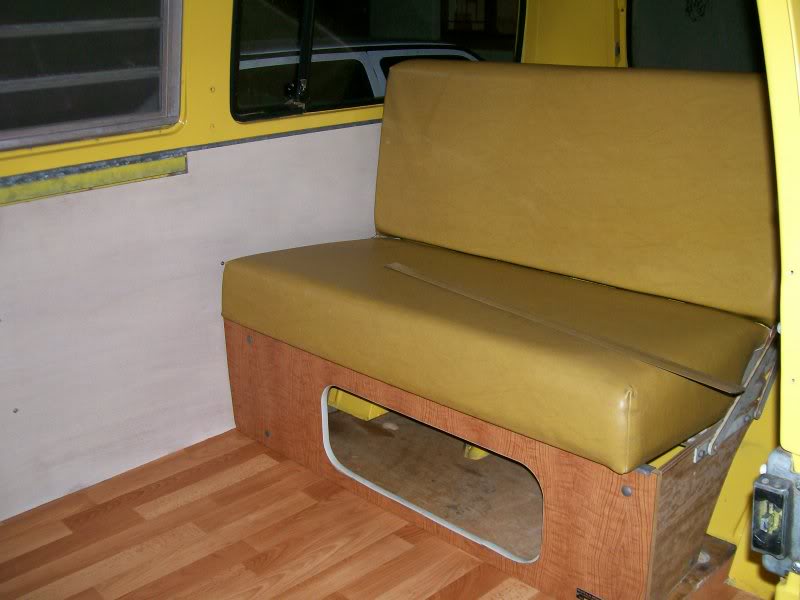
Put the seat in place temporarily to get the "feel" of what it's going to be like once in place permanently. (Also realised I needed a few more holes cut out of the new floor for bed's retaining bolts.)
When it was time to fit the roof section I found that the guys who had sprayed the bus had not removed the old rusty screws that originally held the section down. They had ground them off flush with the metal.
 I then proceeded to break two drill bits and blunt a few more drilling out the remains. A few new rubber door stops were used to replace the spacers for the back section and it was done. The van now looks a lot better with a complete roof. Excuse cr@ppy photo taken in the dark.
Thats all I've managed this week. Work finished yesterday as I had tickets to Newlands for the Stormers/Brumbies game. Today was lousy weather and anyway, the post match celebrations involved copious quantites of Jack Daniels so the day was spent recovering.
Hopefully the next update will be sometime BEFORE May 2009.
I finally took a few days off where I wasn't going away, racing, doing home repairs or attending to one of the many other things that seem to always take preference. So at last the Westy received some attention.
First up was a thorough cleanout and liberal coats of rust convertor to the floor (no actual rust, just a few bare metal patches). Then two layers of masonite board topped off with a piece of Novilon flooring in "strip wood" look.

Next up was a new side interior panel. I'm using 2mm ply which I've "lime-washed" with diluted light cream pva covered with a satin sheen, water based, clear varnish to try and match the original panels; some of the better condition ones will be retained. The new panel looks "old" and blends in pretty well with the others.

Then a really fiddly job (for a first timer that is); fitting the passenger door window and winder mechanism. Damn, it took me several tries as I kept getting the order of fitting wrong. I'd get half way then realise that some other bit was not going to fit as it needed to be fitted first! Anyway, got it right eventually and its in and working perfectly. I gave the inside of the front doors a good clean out, painted with rust converter and sprayed on a layer of wax. Also checked that all drain holes were unblocked. Unfortunately the window rubbers, while complete, are very brittle and are not doing a great job of keeping water out of the doors so I put extra effort into preventative measures. Sorry, no pics; I was struggling too much to think of photos.
Next up was the rear half of the pop-top: the roof rack bit. Several of the bars were loose and it needed a spray as it wasn't done properly at the time of the original spray job. A few nuts and bolts later plus two cans of white Duco spray and it looked good as new. While I was busy with that I managed to get the better half onto the job of cleaning the rock and roll bed (after all, cleaning is woman's work

Put the seat in place temporarily to get the "feel" of what it's going to be like once in place permanently. (Also realised I needed a few more holes cut out of the new floor for bed's retaining bolts.)

When it was time to fit the roof section I found that the guys who had sprayed the bus had not removed the old rusty screws that originally held the section down. They had ground them off flush with the metal.

Thats all I've managed this week. Work finished yesterday as I had tickets to Newlands for the Stormers/Brumbies game. Today was lousy weather and anyway, the post match celebrations involved copious quantites of Jack Daniels so the day was spent recovering.
Hopefully the next update will be sometime BEFORE May 2009.


