A little more progress today.
We cleaned the fleetline from top to bottom, inside and out (except the engine). She does not look much different, so no use posting a pic. No more loose junk, pieces of rope, home made curtain rail etc anywhere anymore.

I can now see the full extent of the rust damage... little bit more than I thought, but nothing terminal. Window frames, roof corners, and around the front, roof fresh air intake vents. Cargo floor and doors also need a spot of welding, but, this patient was caught in time.

From what I can see the PO had applied some rust inhibitor at a stage, so things will be fine till its time for bodywork on ffff. Was also pleasantly surprised to see all the rooflining metal wires and tabs are in the bus and complete from what I can see. Will make fitting a new roofliner a walk in the park

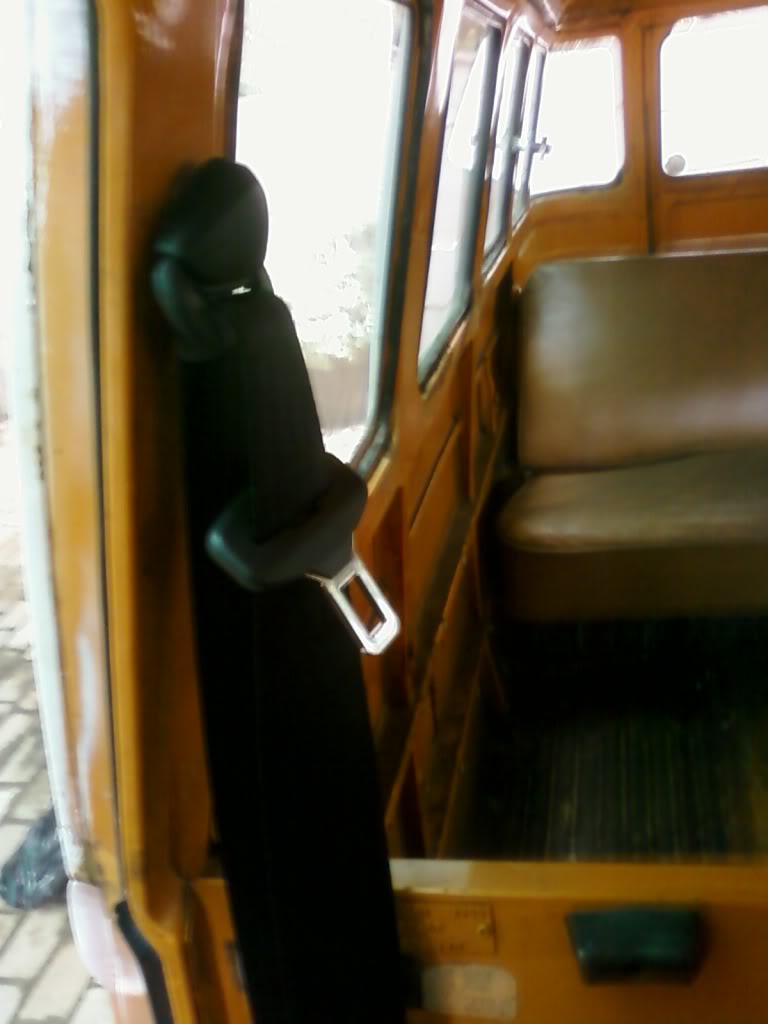
Fitted the seatbelts today. Was easier than I thought it would be
The fleetline has factory mount points for over the shoulder belts, on the B pillar, and on the cab floor behind the front seats, that made the job a lot easier.
Thank you to FIG for advice and example pics, this also helped a lot! Always easier to ask someone who has done it before, owe you a

Shall I bore you with the steps involved ?
I started by installing the stocks first. One for the driver side and one for the passenger side, leaving the two middle mounting points open for a future lap belt install. Next was the B-Pillar, bolts right on, and this kept the belts steady so I could mark the spots to be drilled.
You want what? Oh yes, pictures
.
B-Pillar:
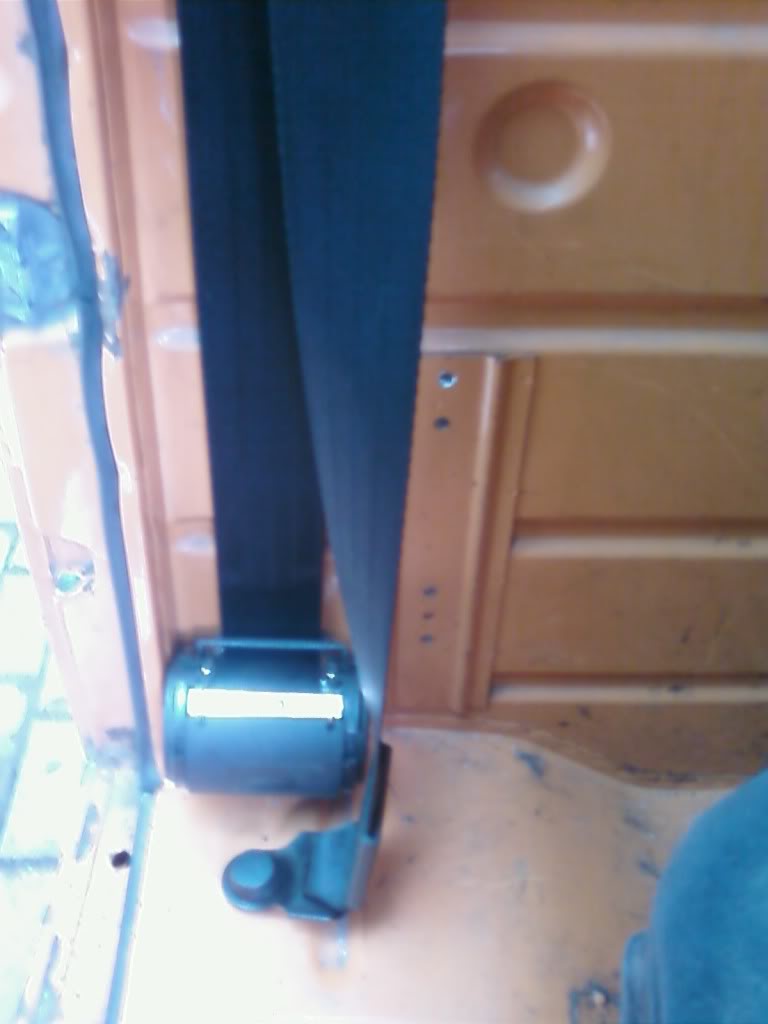
Started drilling with a small "titanium" drill bit, and it was scary how that bit went through the metal like a hot knife through butter. No need for pilot holes then, straight to the 10mm bit. Drilled one hole through the bulkhead to mount the inertia reel, and one hole just to the right of the seat, for the other anchor point. The seatbelts came with a spring washer, washer, and a plastic circlip to keep them in place pre-installed. Only thing I had to add was a BIG, THICK square washer (to help spread the load) behind the bulkhead and under the floor, and a locknut. The inertia reel portion of the belt has a small standoff to help keep it in position and this also required a small hole to be drilled.
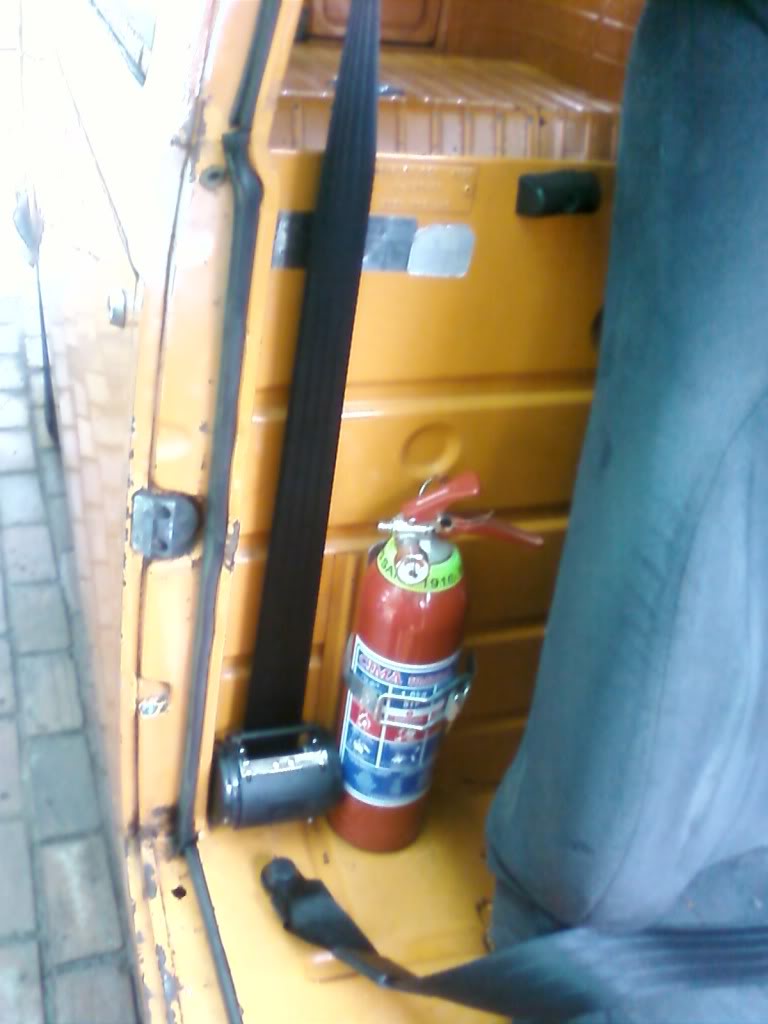
In the fleetlines, there is a strange metal bracket just to the right of the driver seatback, which I noticed Fig had used to mount his fire extinguisher to. Looks like it was made for that purpose, so I did the same. The one hole is factory, just had to drill one more.
Floor mount points, you will see the bracket I mentioned on the right.
Then for the passenger side:
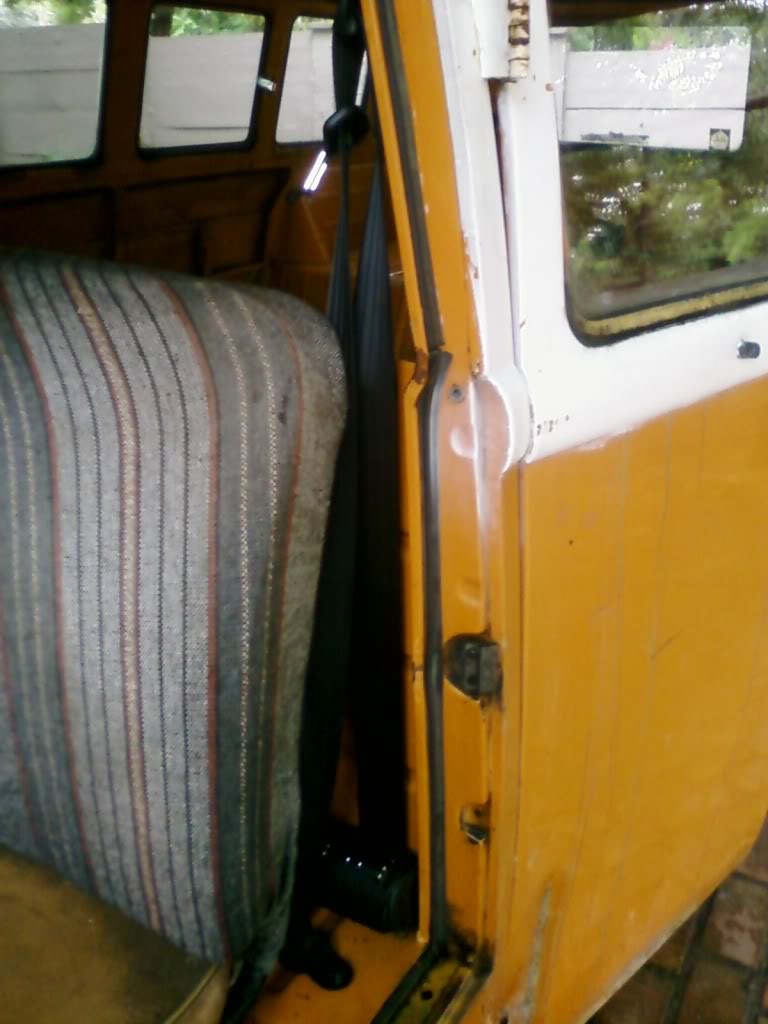
Assemble and test:
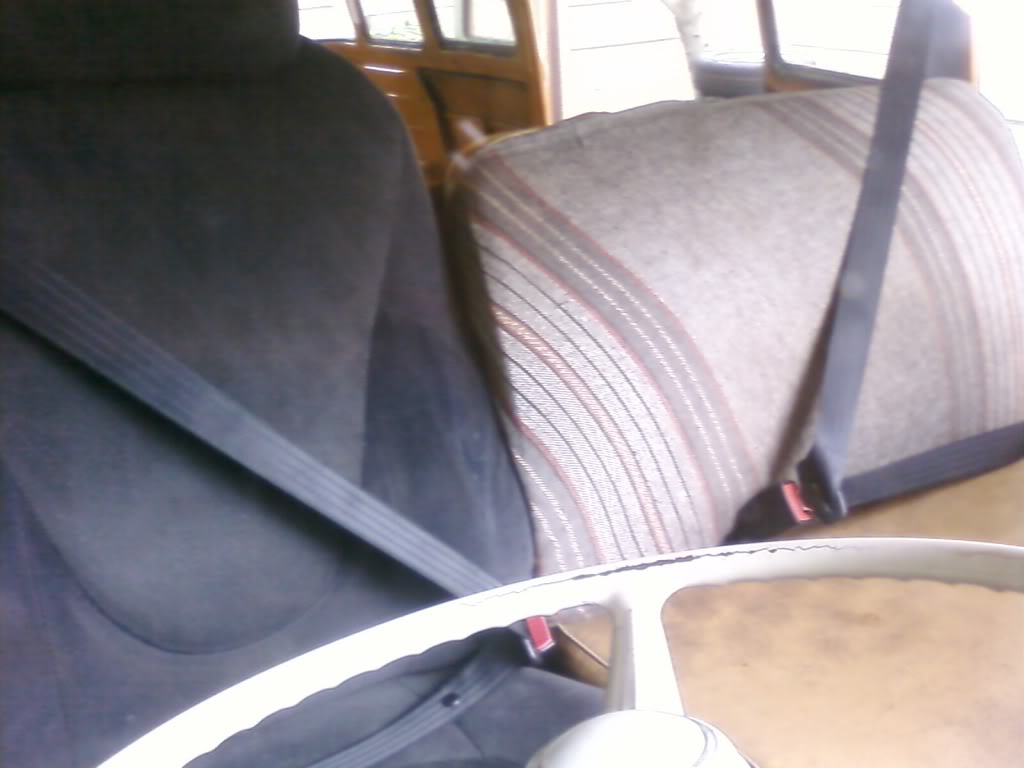
At least now the ratline is safe(r)
Need to make a plan with those wheels now, get the roadworthy done, and then work on the fleety will be paused for bit.
There is a notch to finish first! One project at a time and all that.
Although, seeing it standing there everyday, you never know what a man might get up to if he is bored....